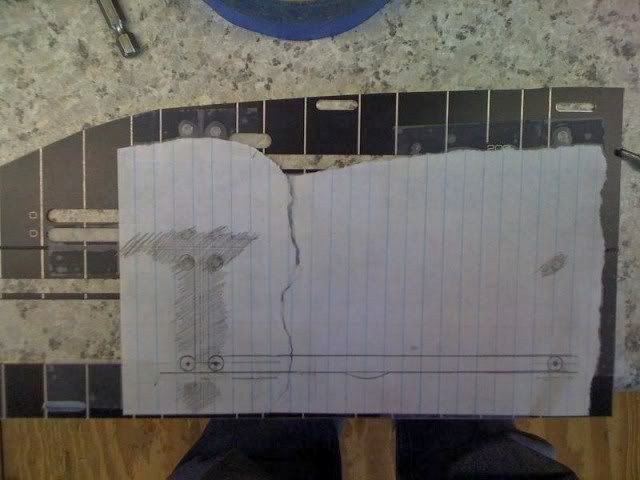
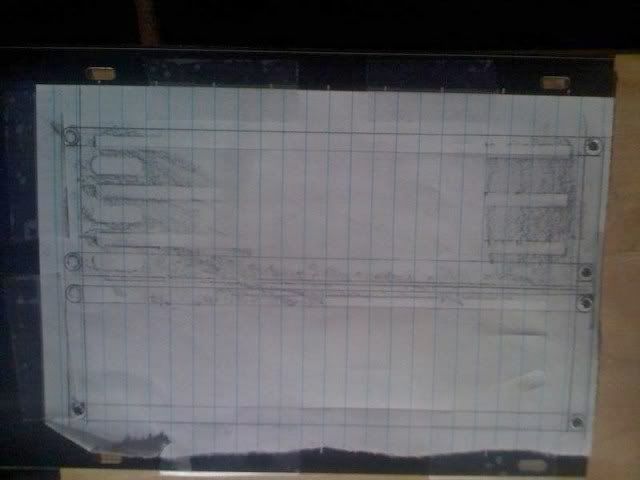
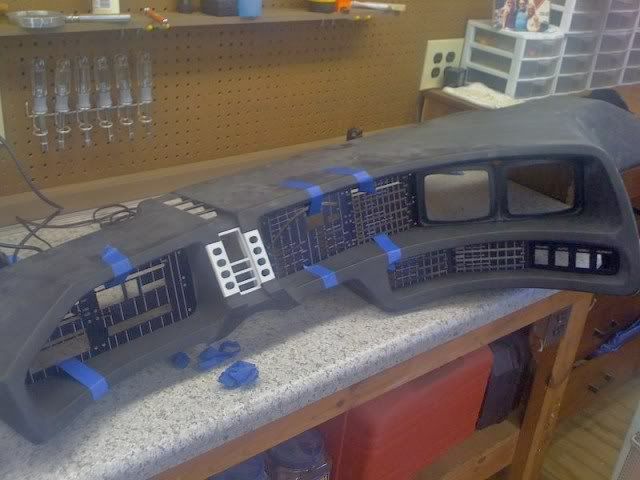
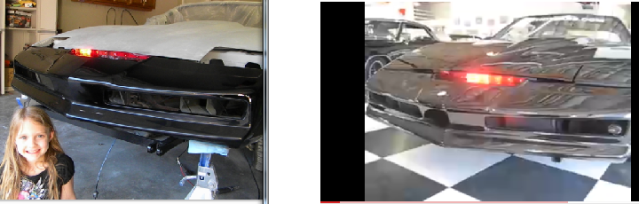
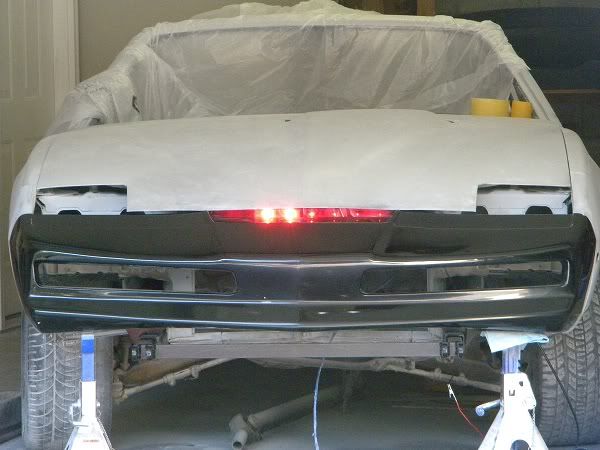
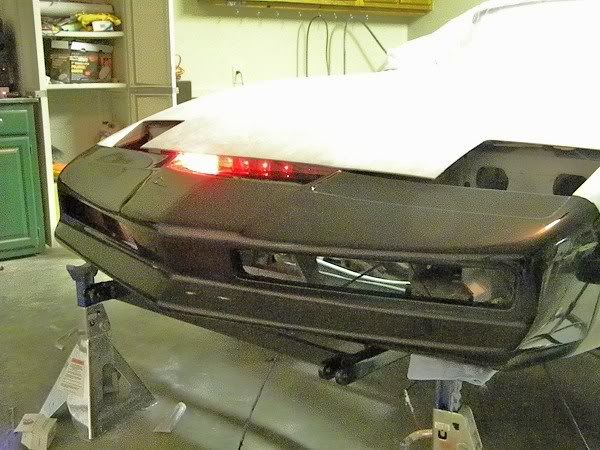
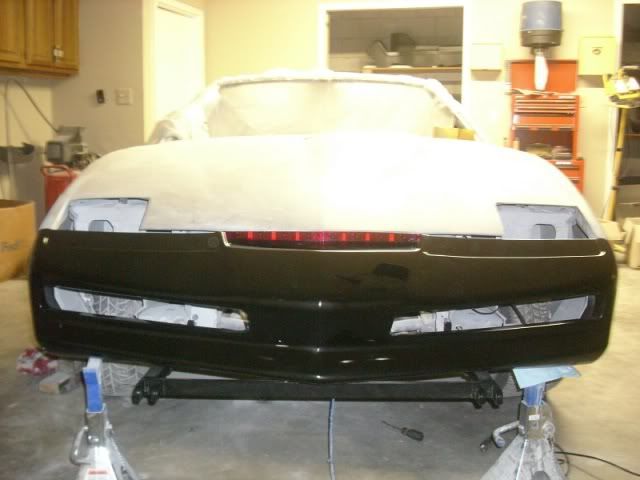
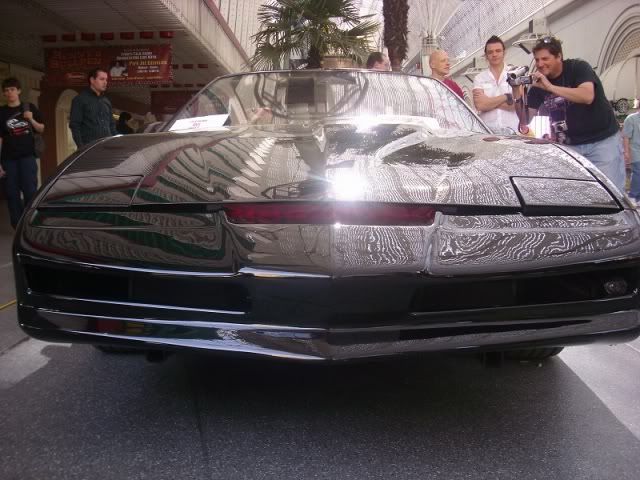
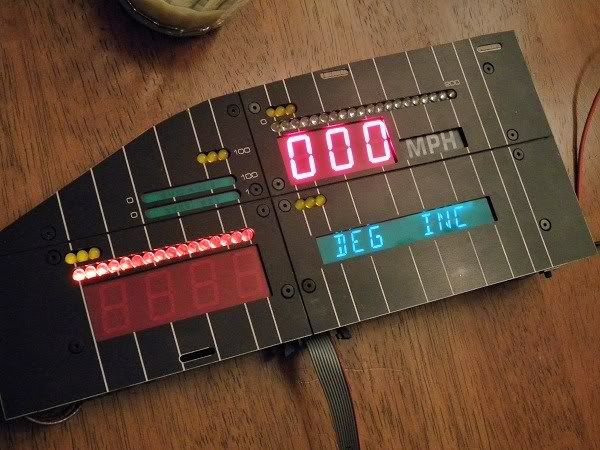
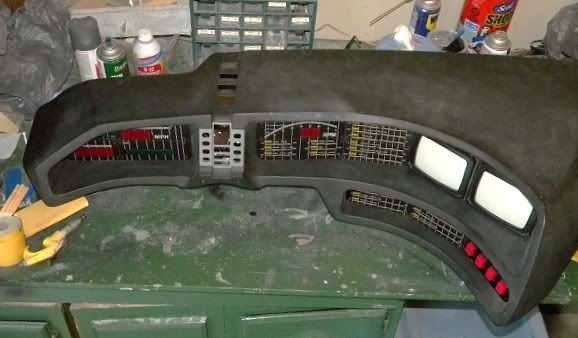
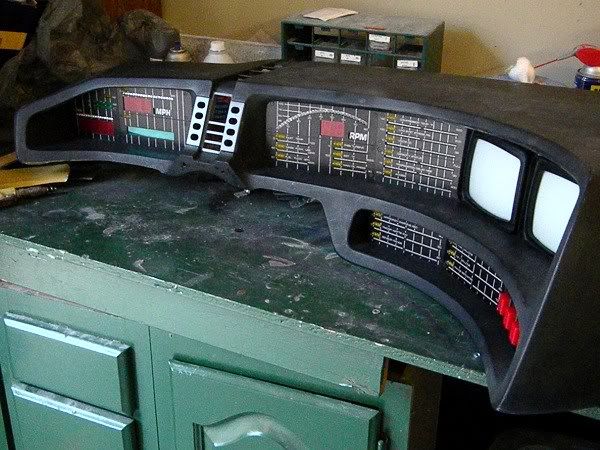
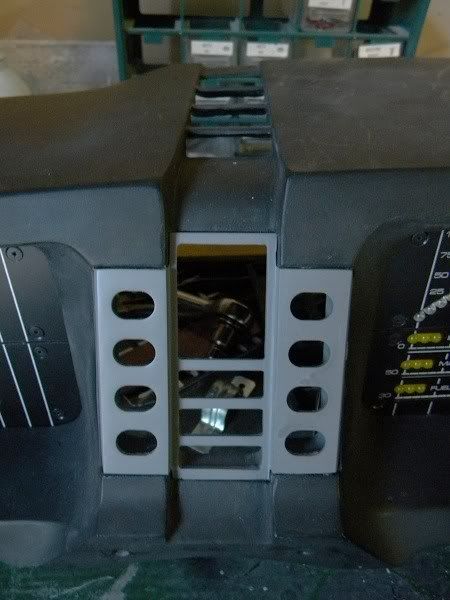
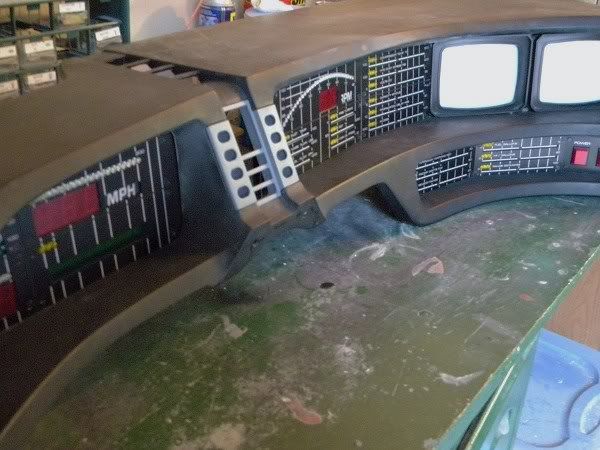
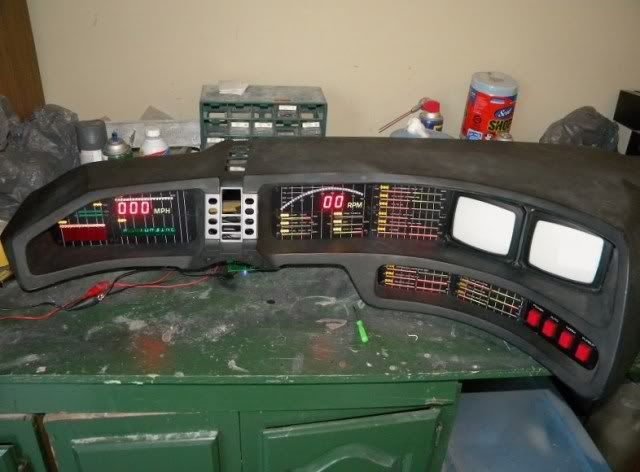
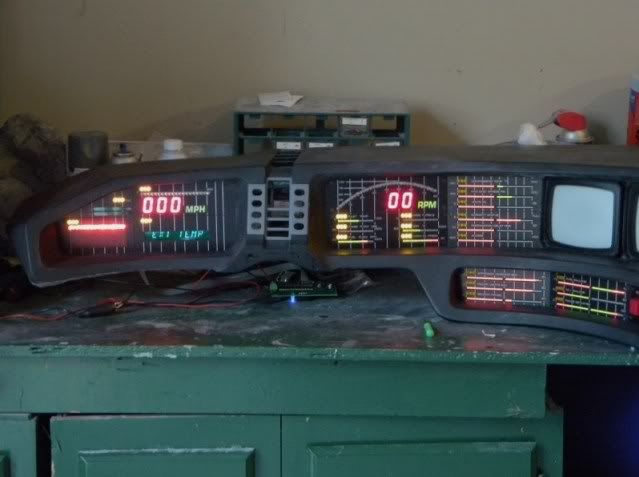
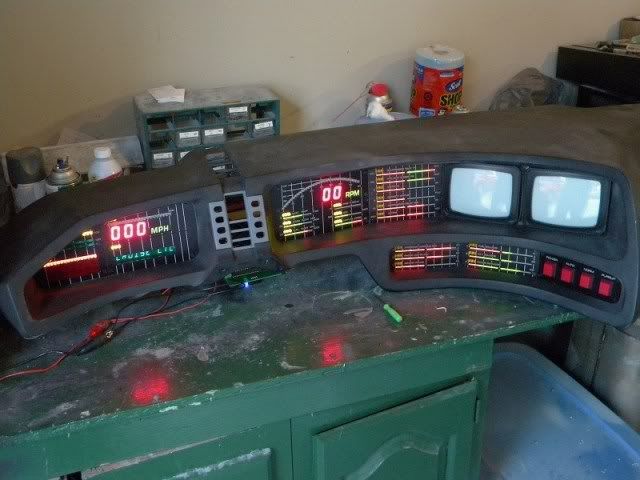
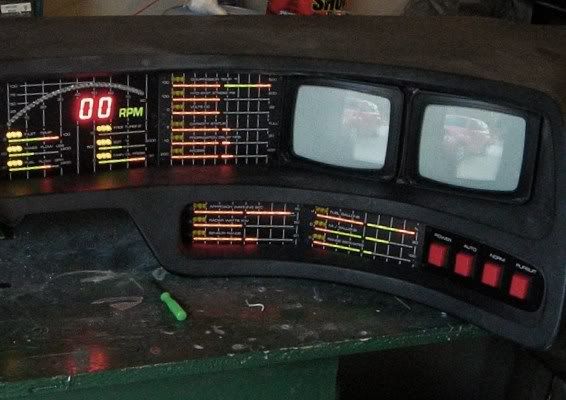
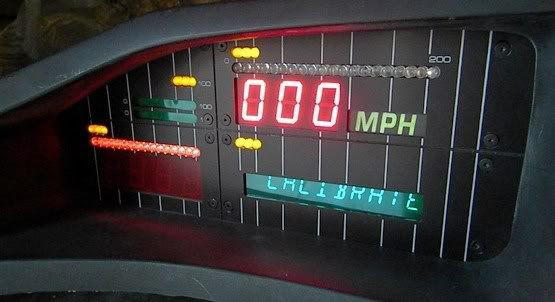
Well, hope you all had a good holiday, still have new years to go! While going through the holidays, I worked on putting the holes in the overlays. These holes are for doing the look of 1st season KITT for the pilot car and a couple of episodes. I've always thought this would be a B!(@h.... well, yes , it was....(at least for me) more of a pain than anything. I'm only talking about this in case some of you want to do this, but instead don't , thinking it might be too hard or just don't feel like doing it. After a bit of looking at it for me, I thought .......If I trace this thing out, like back when I was a kid, I can see where to put the holes and not mess up. I mean , let's face it, who has money just to buy more overlays?! not me..... Anyway, so , if you trace the pattern out, you can see where to put the holes. Then , get a straight edge, and put on the outside of circle to get this. AGain, if you have already done the holes before, you might have a better way, but for me , this was it ....and it worked out great for me. Anyway, just thought I'd share some info.....not many videos out there to show ya all the tricks of this hobby. Anyway. Hope this inspires more to do the holes. I have always liked this look , and people's car's like: Andy G's, B-Thones, and others with them....you all have my thumbs up.....heck of alot of work here. I messed a few up, but hopefully the light show will look good enough to distract.....Jjokin... Darn, I haven't even countersinked yet......Oh boy!!!!
Marc
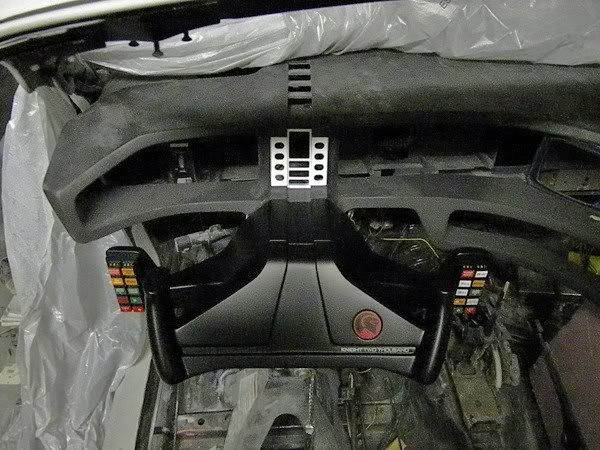
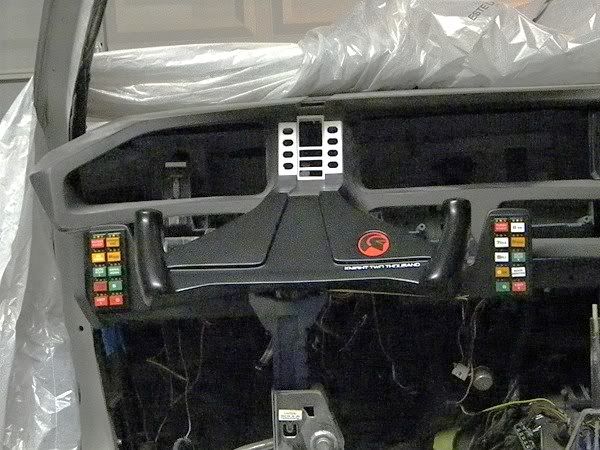
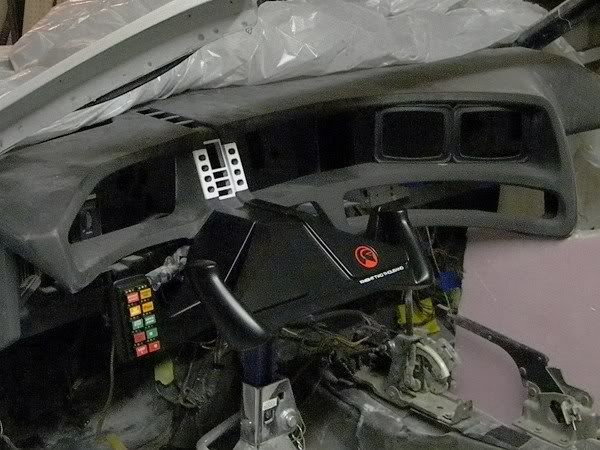
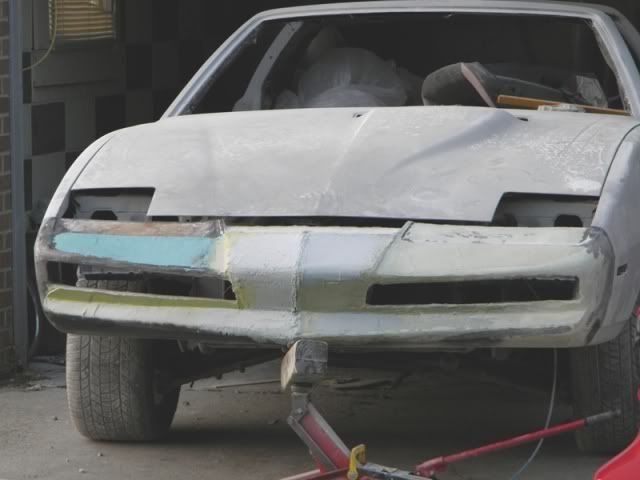
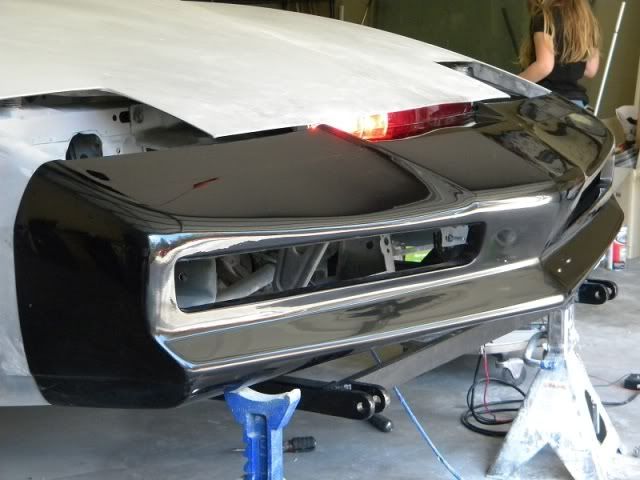
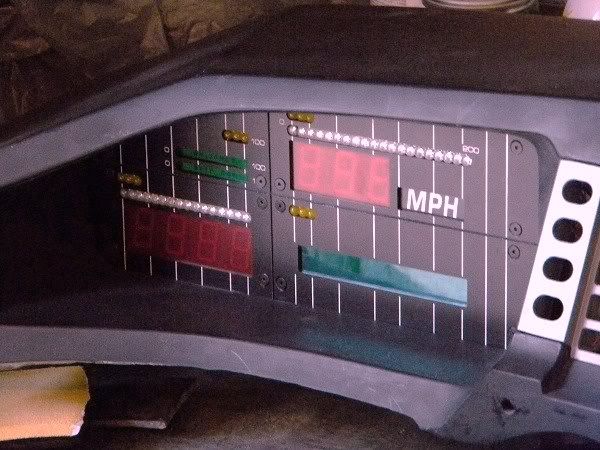
P.S. Don't look at the blue tape too much.....Just test fitting! I'll get there......(One of these days!!!!)