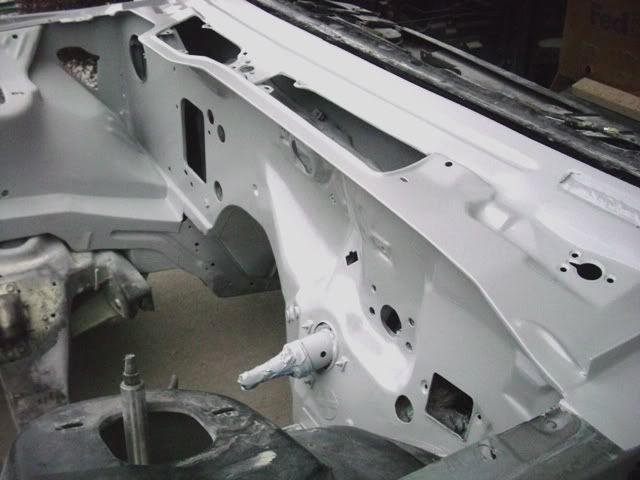
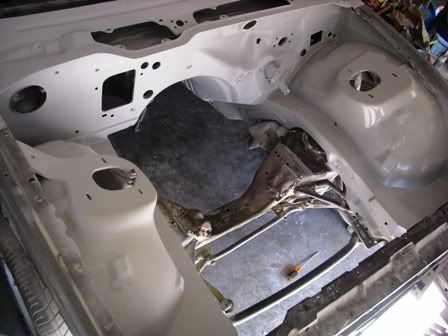
Hey , I thought I'd just post some pics of what I've been doing this month. First of all, I had to cut my battery pan out. My shop at work has this real ancient big @ss metal bender from like the 30's or 40's... just pickin, but it is probably from the 70's . It's wider than a bus. No problem bending this little metal.
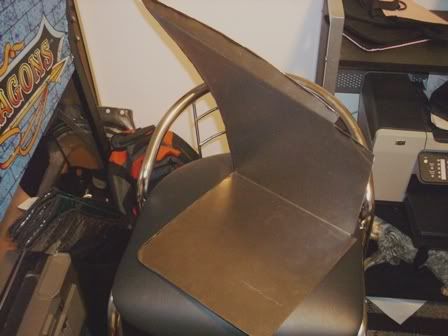
Well, of course you have to weld it in, so if you look at your battery tray, it has alot of holes in the bottom...Well, I used some of the block steel you can get at Lowe's or any hardware store, and measured where the holes were and made a view of my own. I wanted support for the tray so I can put stuff on it if needed. So , I measured and welded the pieces to the pan, then, welded the pan in.
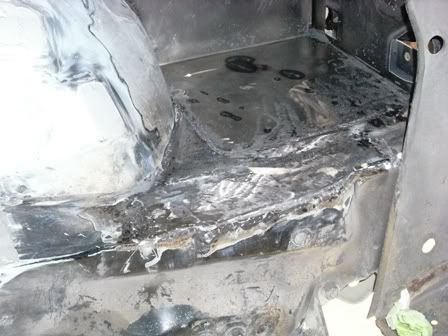
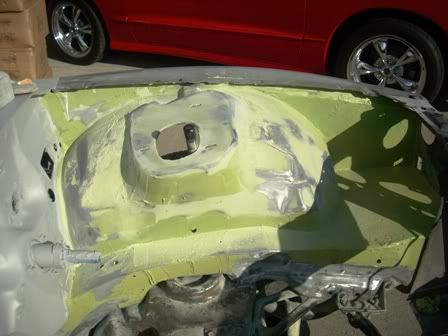
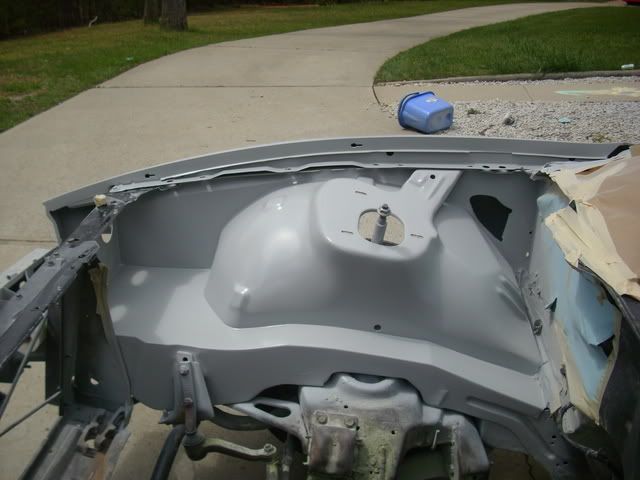
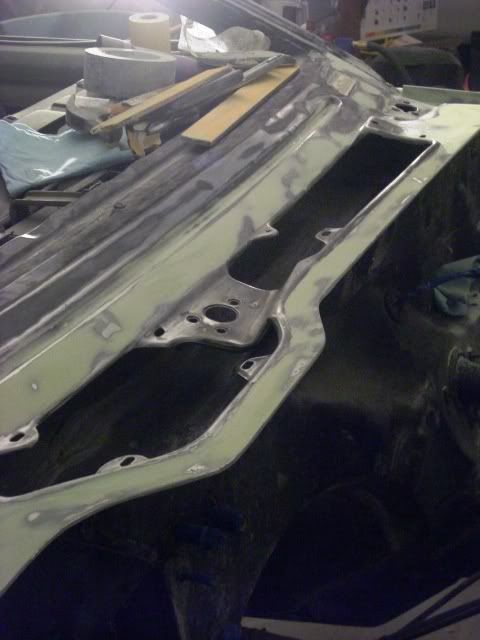
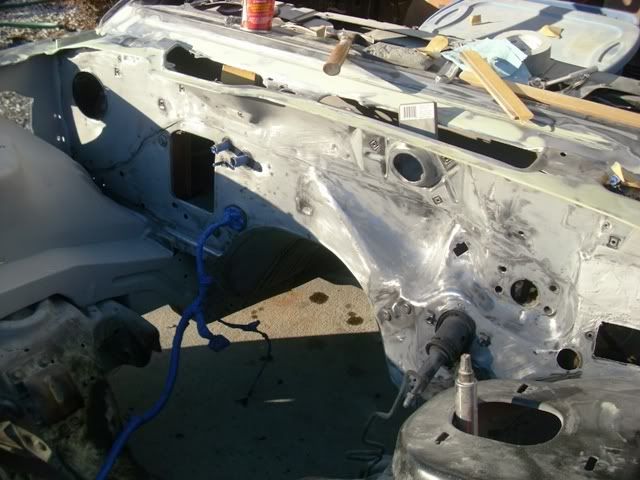
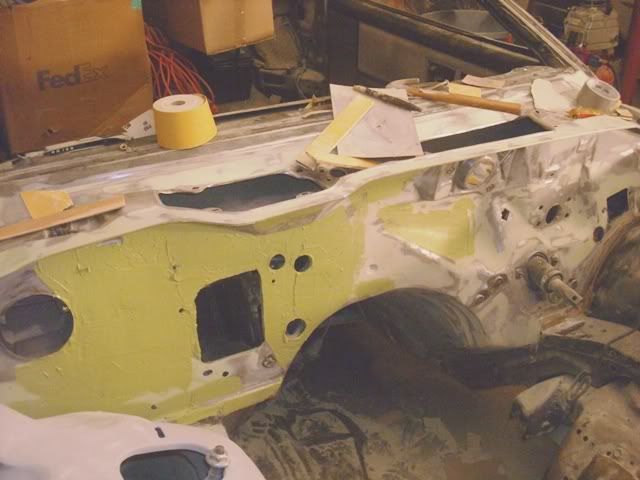
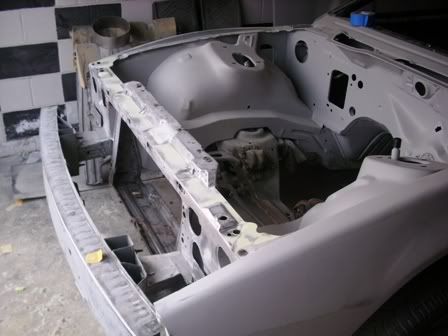
well, after the pan was in , there is a problem , which was the same as the other side, The battery tray is flat and the frame goes down. BIG problem in blocking. WILL NOT LOOK GOOD! So, I measured the difference of the pan and the frame , and it was about 1/4 inch, at the highest point. So , I welded a piece of 1/4 inch steel on the frame, then grinded it down, and acted like I was blocking but with steel and a grinder. So basically, the piece I welded in (which was straight before ) was now tilted and level with the battery tray. Anyway. I checked it with a block and made sure it was straight, I DO NOT like alot of bondo in my rides. Well , here is how it looks, it probably looks like , " WHAT THE #ELL HAVE YOU DONE" but remember this is before the ALL METAL goes on.
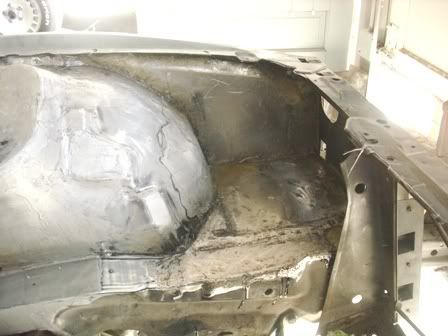
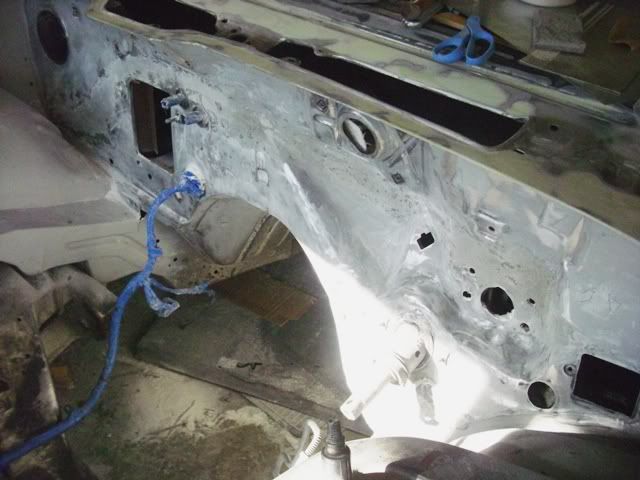
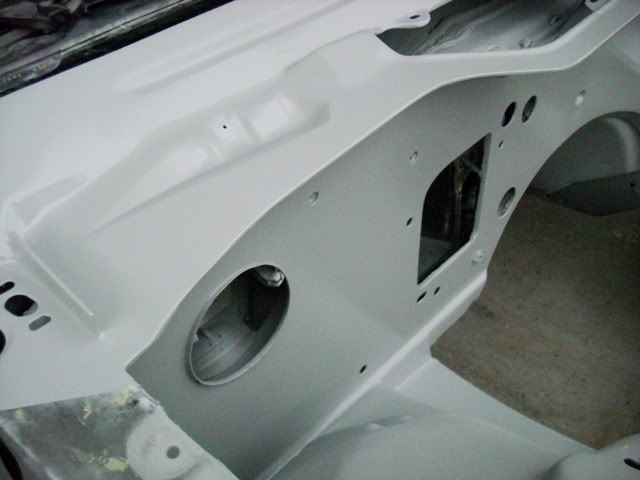
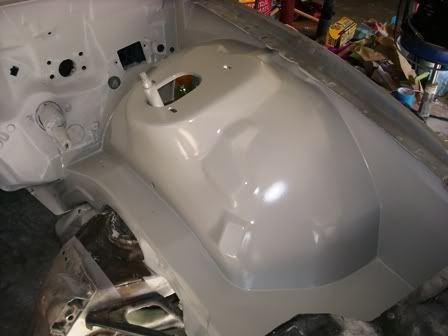
Now the next thing I do, which alot of people will say, HUH, but this is just from my experiences with metalwork. I glass the seams just to make sure that no air gets trapped. I used a little more resin than normal so the resin goes in the holes. Usually bondo or all metal go in the pores of the welded area but resin seems to drip in them more, less chances of air release later. Anyway...here it is with the glass done....the next pic of it will be in all metal and bondo... so until then , thanks for listening to this long @ss letter....Here's how it is with the glass (very little glasswork)
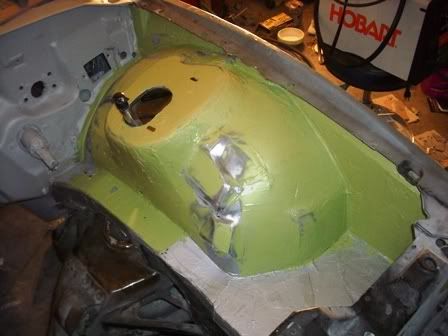
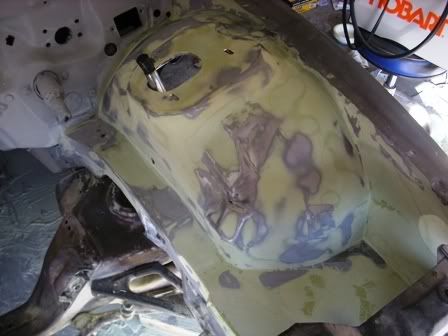
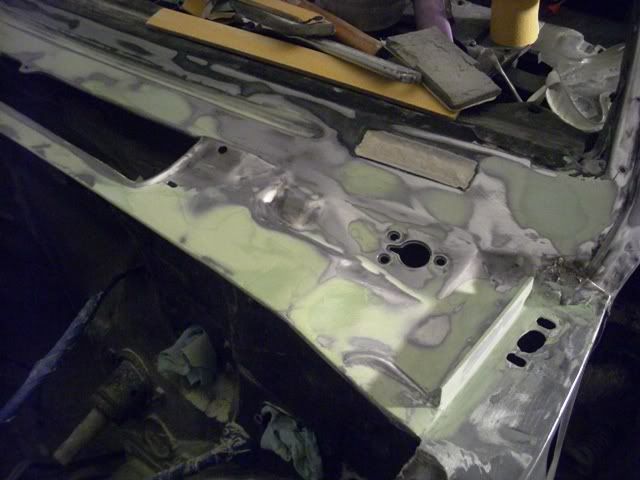
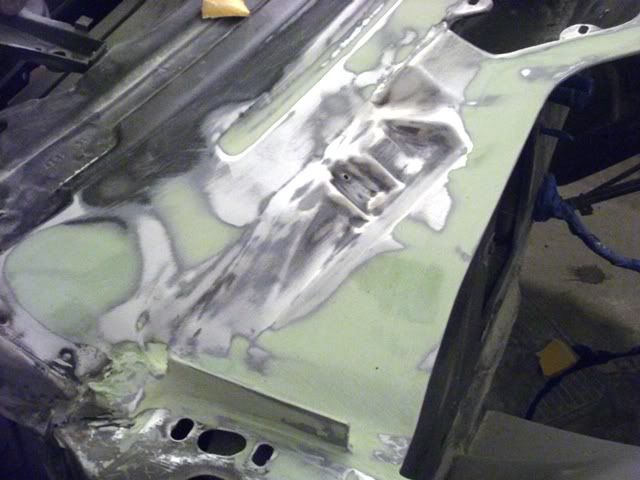
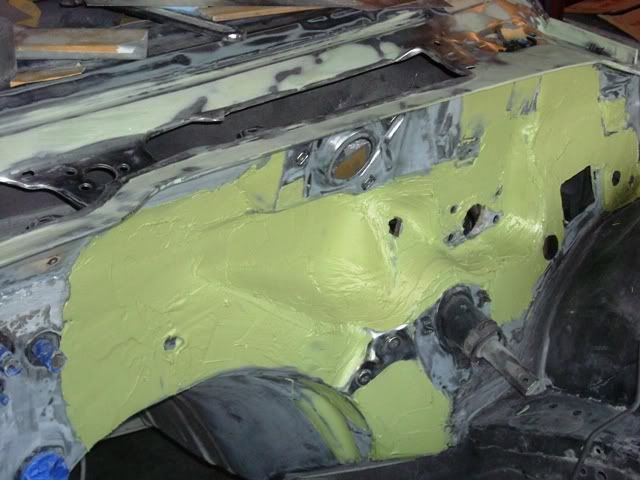
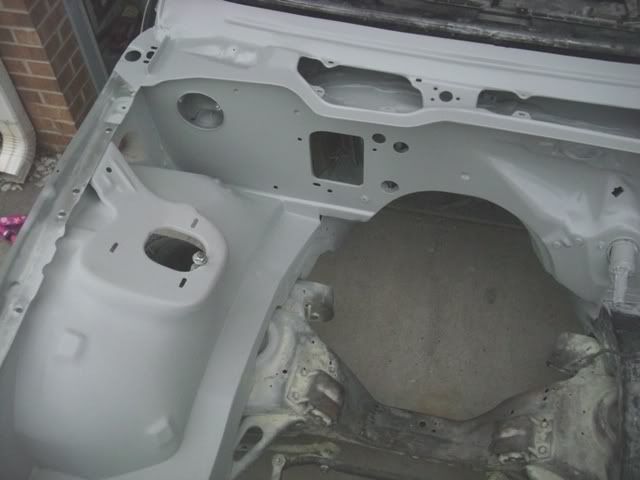
The next thing is ALL METAL which I personally love... Anyway... It is a form of bondo but mixed with metal particles...anyway...here it is ...first layment of it.

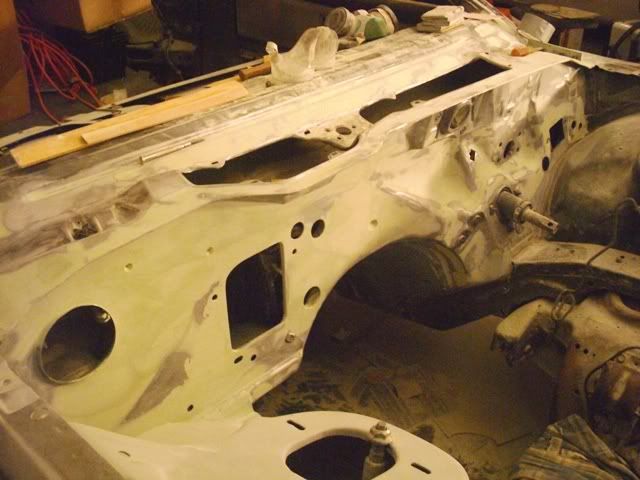
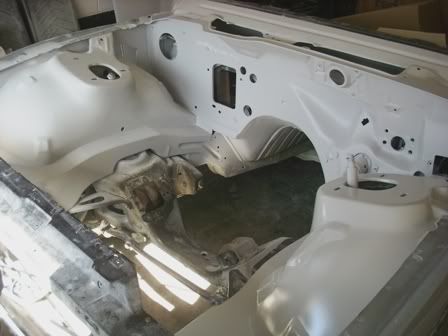
Now after all that has been sanded....It's time for the good ol' stuff .....BONDO(RAGE GOLD)
Well, Now for alot of Sanding...here we go!
Round 1 Sanding

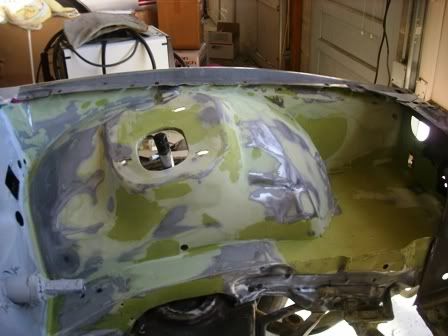
After that....more bondo
Bondo 2
put that on, well
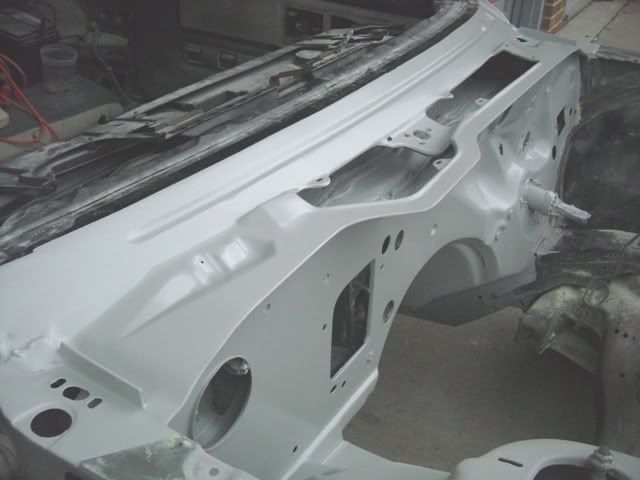
Round 2 Sanding
Well, after that....ok , little spots here and there(finally getting somewhere!
bondo 3
ALLRIGHTY THEN
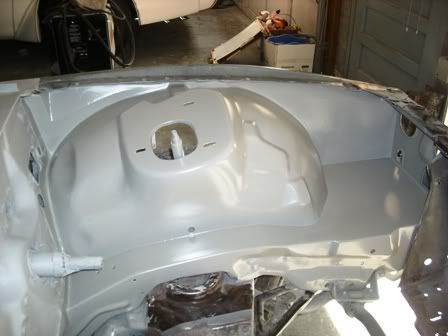
Round 3 sanding YES!!!!!
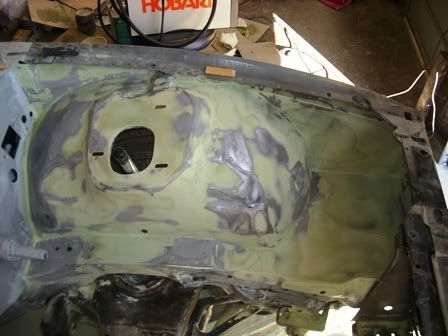
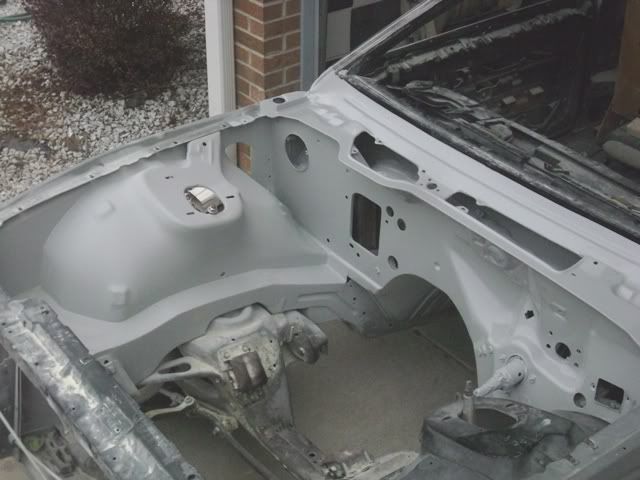
It's done... Now I just need to prime it sometime and take a few overhead shots of the whole thing.... anyway... I'll have pics of the bay in primer shortly (I hope) thanks for letting me share
Marc (2-20-09)


