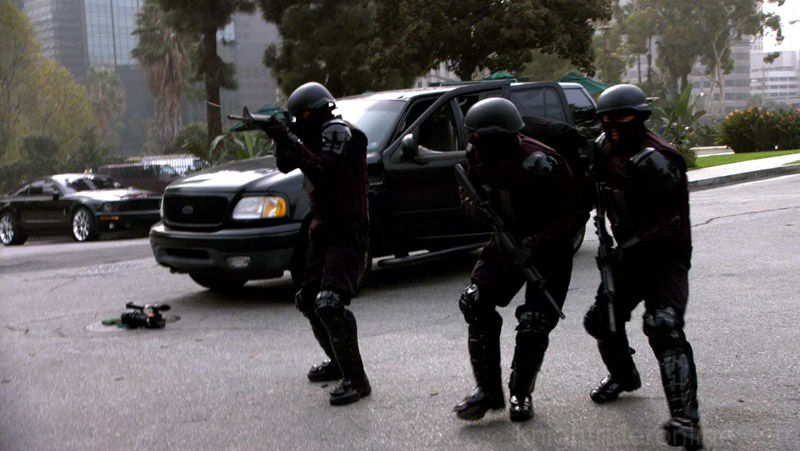
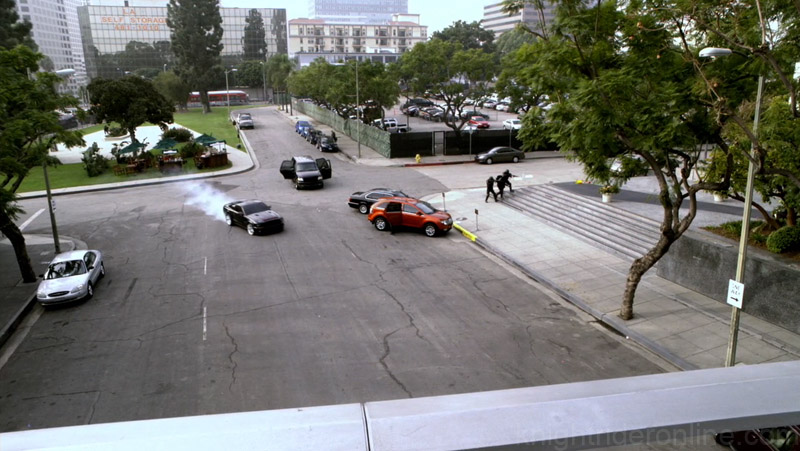
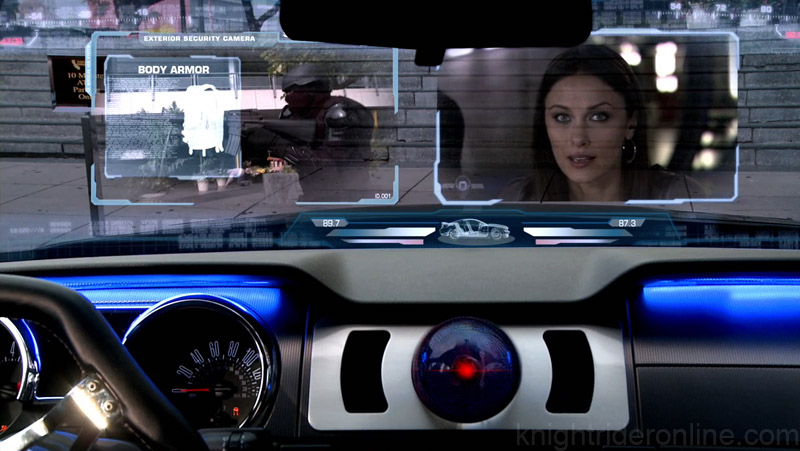
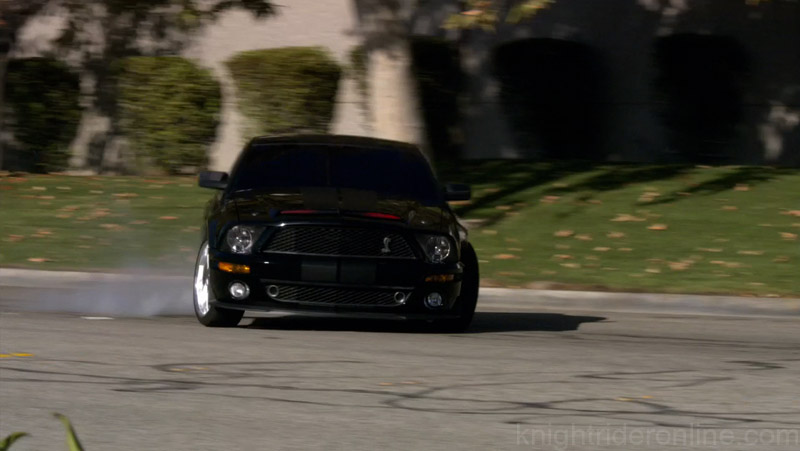
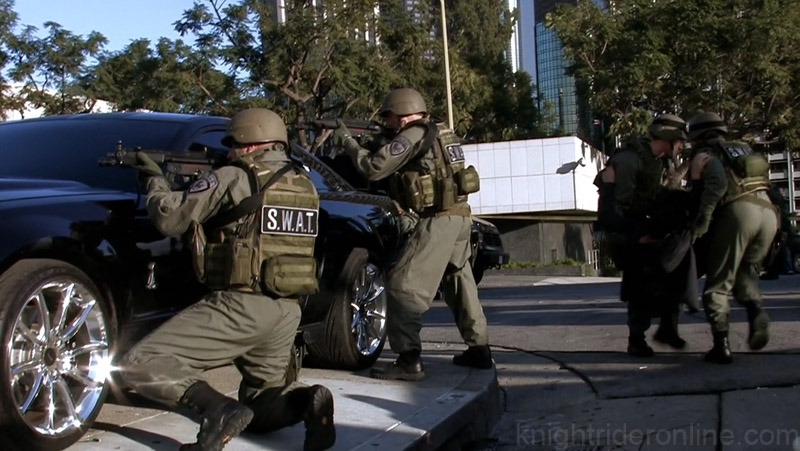
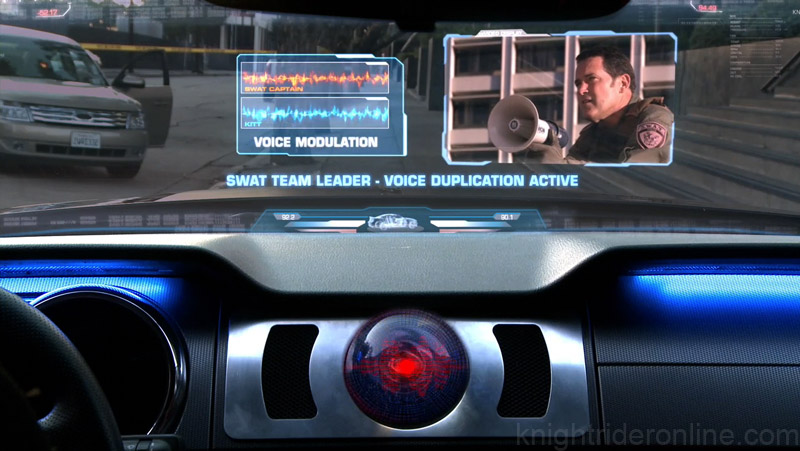
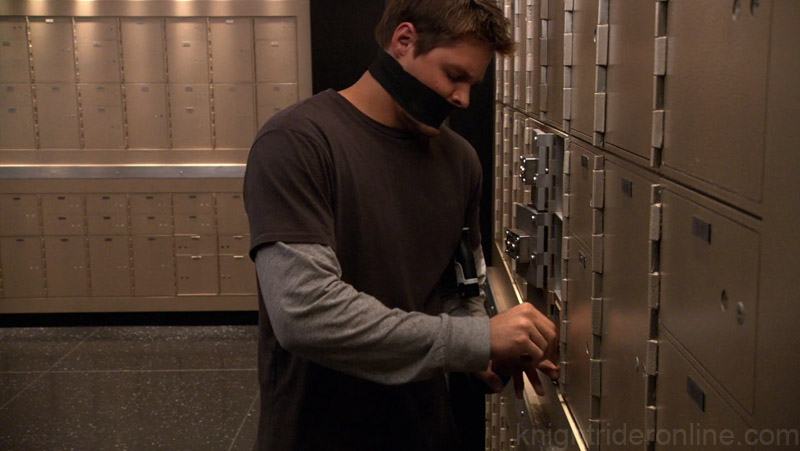
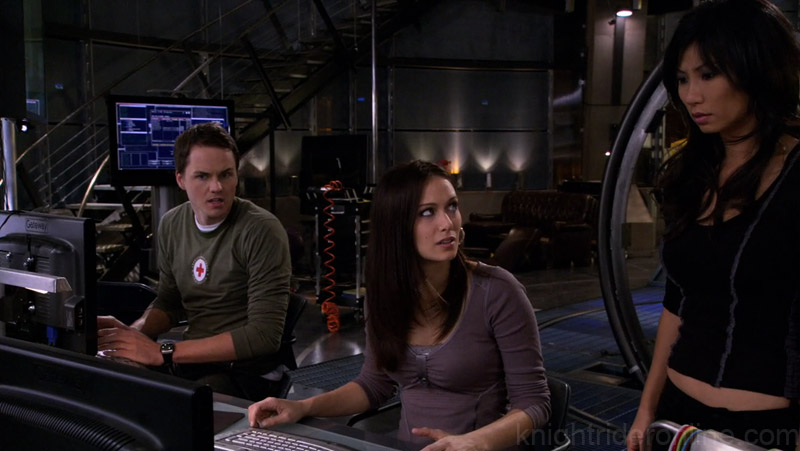
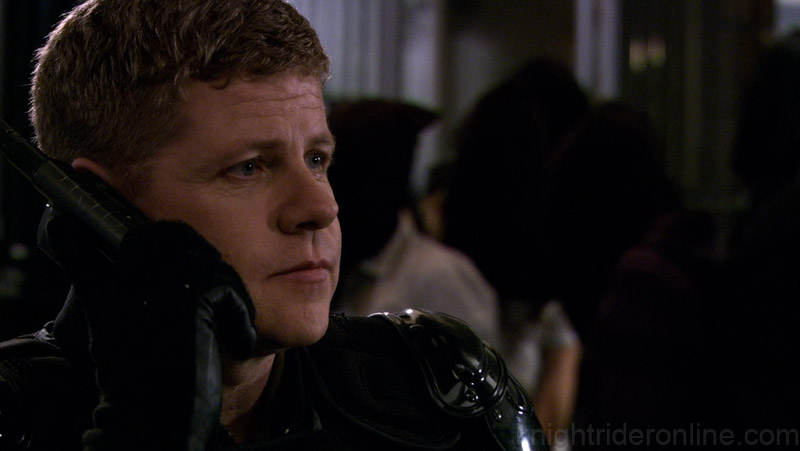
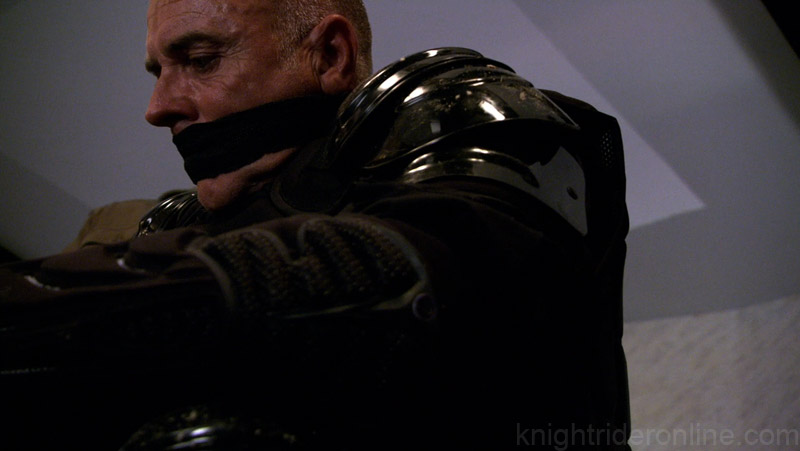
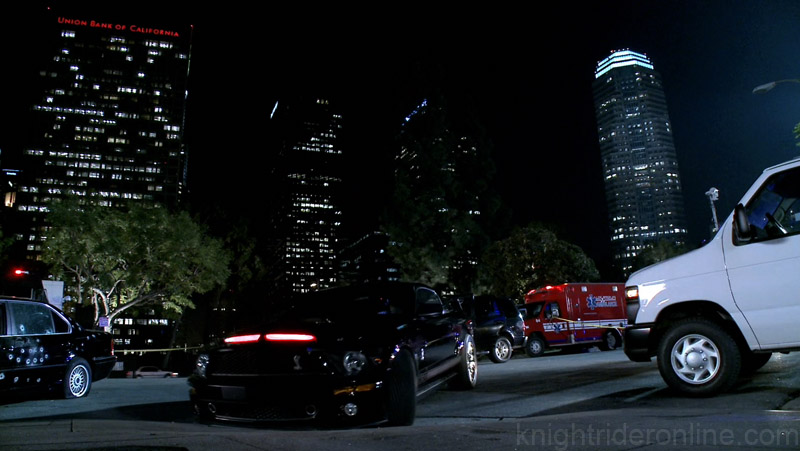
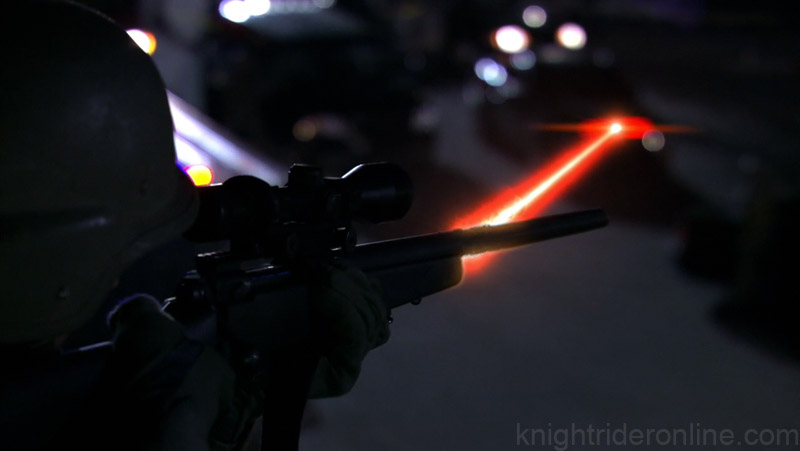
Episode Photos

113_still01.jpg
113_still02.jpg
113_still03.jpg
113_still04.jpg
113_still05.jpg
113_still06.jpg
113_still07.jpg
113_still08.jpg
113_still09.jpg
113_still10.jpg
113_still11.jpg
113_still12.jpg
113_still13.jpg
113_still14.jpg
113_still15.jpg
113_still16.jpg
113_still17.jpg
113_still18.jpg
113_still19.jpg
113_still20.jpg
113_still21.jpg
113_still22.jpg
113_still23.jpg
113_still24.jpg
113_still25.jpg
113_still26.jpg
113_still27.jpg
113_still28.jpg
113_still29.jpg
113_still30.jpg
113_still31.jpg
113_still32.jpg
113_still33.jpg
113_still34.jpg
113_still35.jpg
113_still36.jpg
113_still37.jpg
113_still38.jpg
113_still39.jpg
113_still40.jpg
113_still41.jpg
113_still42.jpg
113_still43.jpg


Promotional Photos

DSC_0749.jpg DSC_0764.jpg DSC_0766.jpg DSC_0767.jpg DSC_0769.jpg DSC_0771.jpg DSC_0775.jpg DSC_0795.jpg DSC_0799.jpg DSC_0804.jpg DSC_0837.jpg DSC_0839.jpg

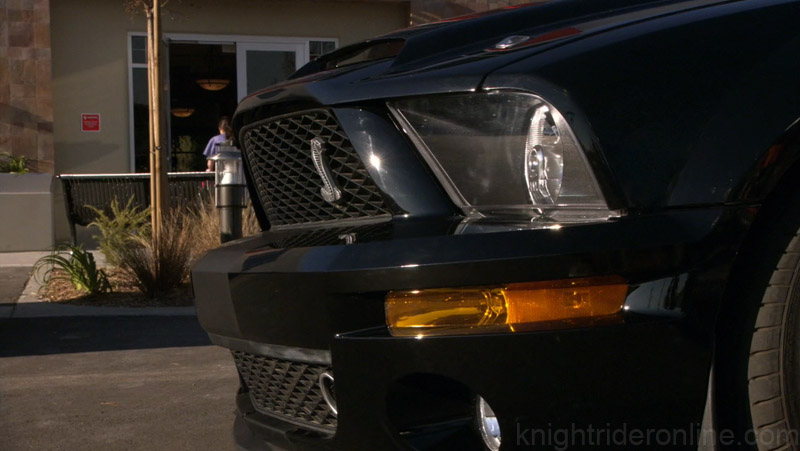
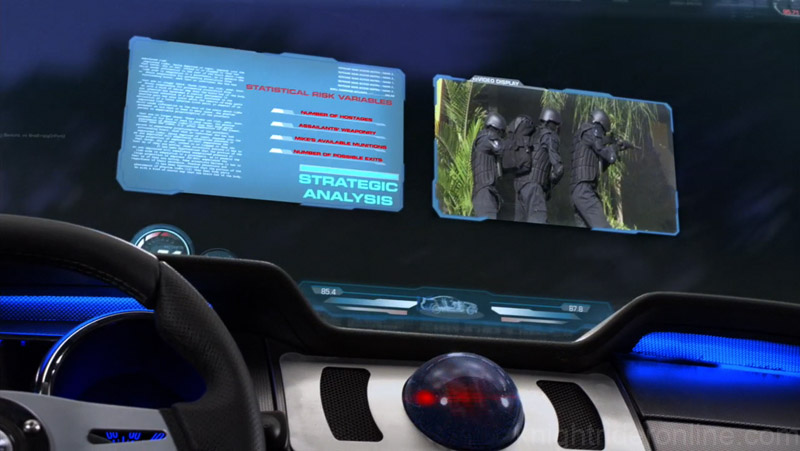
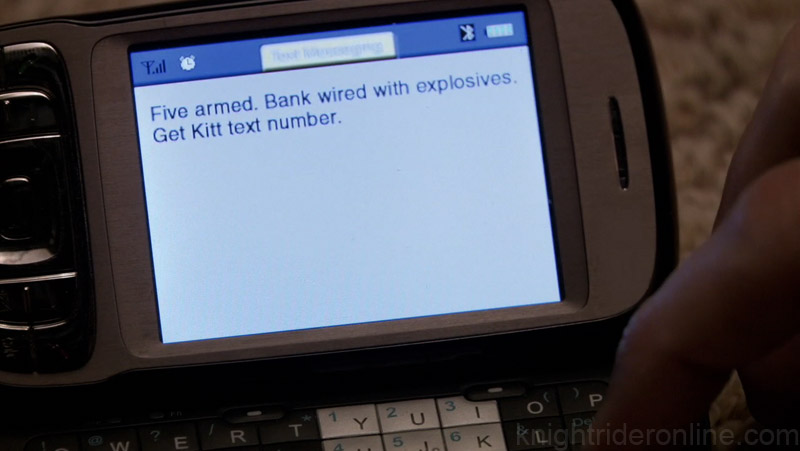
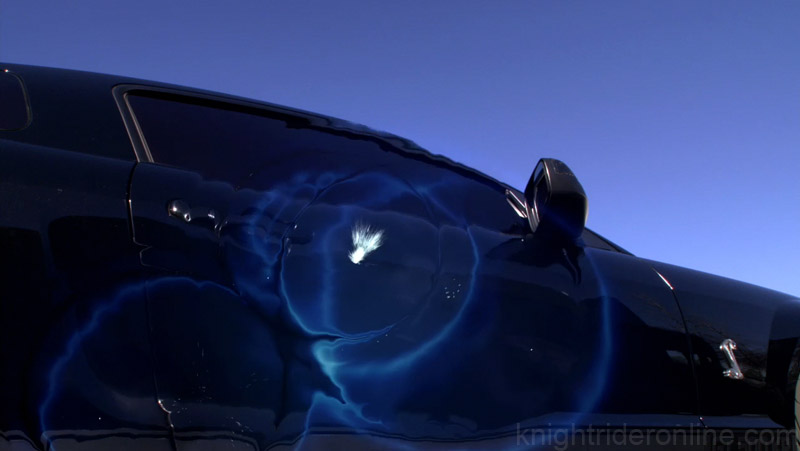
Exit Light, Enter Knight

season one
Original Airdate:
January 28, 2009

Synopsis

BAIT AND SWITCH--Mike jumps into the thick of a bank heist and tries to stop it, but instead becomes one of the robbers' hostages. Oddly, the robbers do not seem interested in the bank's money. Apparently, they have a specific plan that includes the safe deposit boxes and the husband of one of their hostages. Unable to communication with KITT and his team, Mike tries to enlist the help of the other hostages to stop the robbers from escaping. Unfortunately, one of the so-called hostages is one of the robbers, which makes Mike's job even more difficult.

AD

AD

Comments